文章来源:版式设计很简单(ID:format_design)

作为设计师,怎样培养设计感、创意感?我认为最重要的是夯实基础,其次是不能眼高手低,也不能拒绝新的设计技能和趋势,最后当然是“多看多练多思考”。所以当我遇到一些有趣的设计的时候,我都会尝试去临摹,甚至去网上搜索和研究怎样实现。
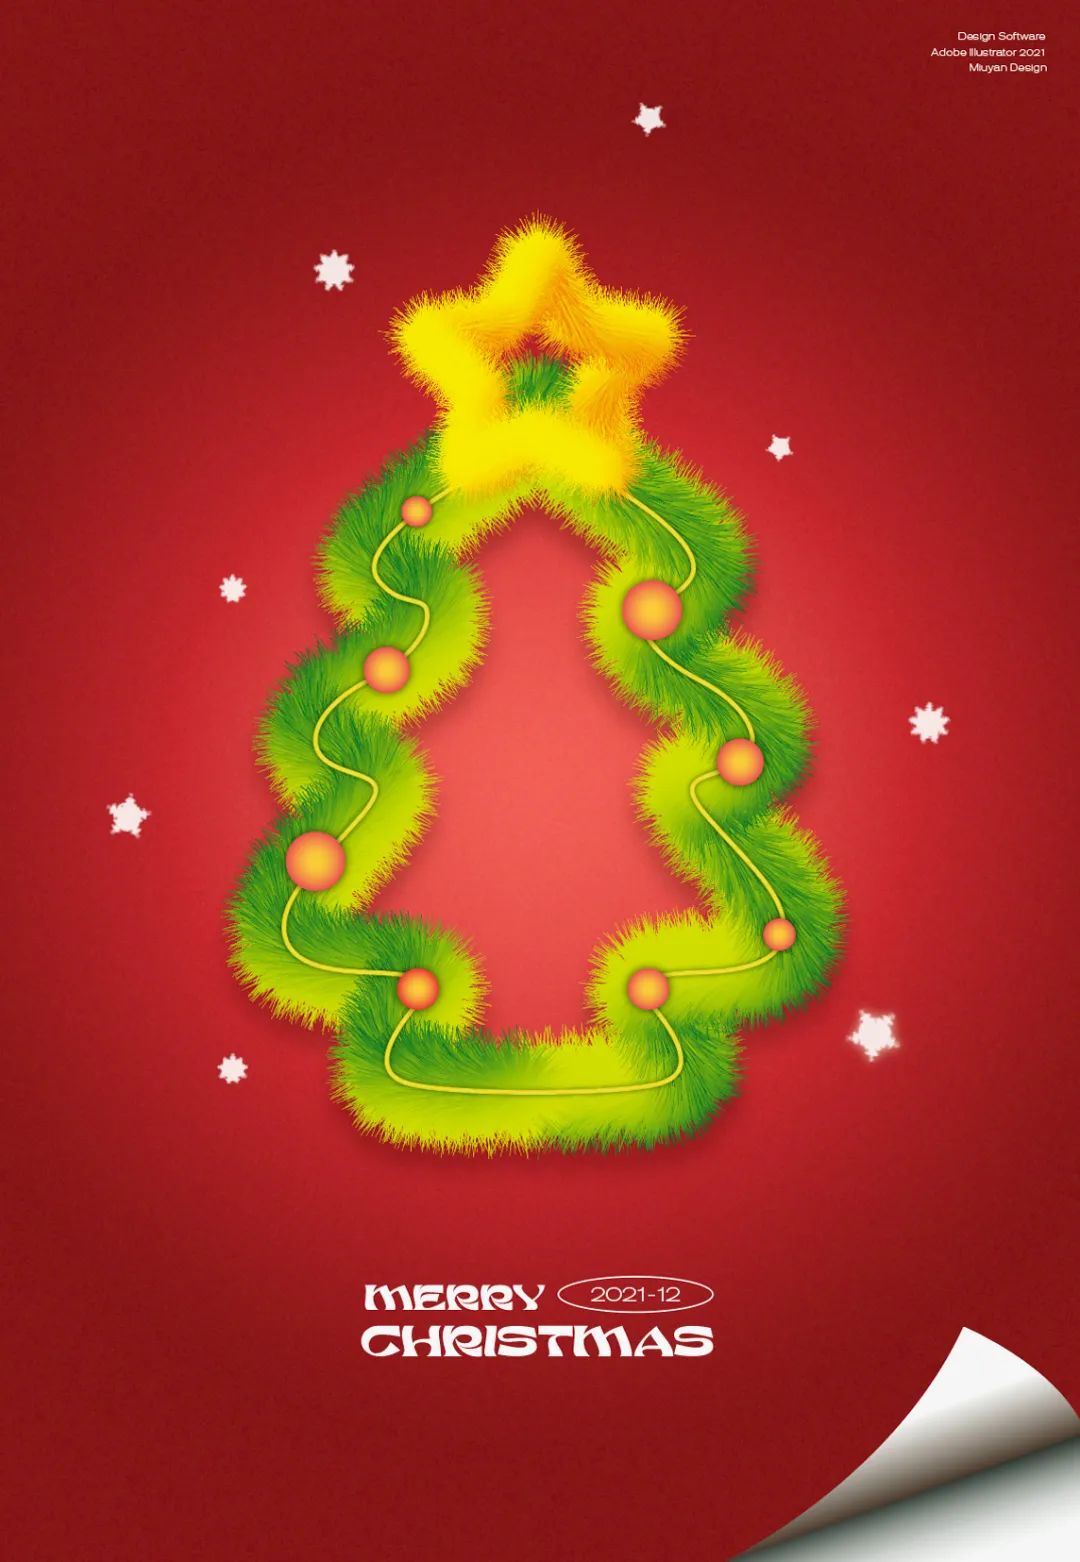
例如接下来分享的一个 AI 小技巧,如何设计出毛绒效果的造型,这里我会通过圣诞主题来绘制圣诞树的造型,如下图所示。

其实操作方法很简单,但是细节的调整和颜色的搭配,对于新手来说还是有点难度,也需要耐心去微调。好了,我们现在就开始,具体操作步骤如下:
Step 01
请打开你的Adobe Illustrator 软件,新建文档。(我的软件是2021版本)
接着选择“钢笔工具(P)”,绘制圣诞树的外轮毂,如下图所示。
⚠️:注意图形路径不能形成闭合路径,需要断开路径,不然后面的步骤不能实现。
Step 02
绘制两个圆,尺寸:23*23px,颜色为绿色渐变。选择两个圆,建立“混合”命令(快捷键:Alt+Ctrl+B),而这步创建的混合效果是默认的选项。
所以需要再选择“对象”→“混合”→“混合选项”,弹出“混合选项”(或者双击工具栏中的“混合工具(w)”也可以),设置混合对象间距,如下图所示。

Step 03
选中前面两步完成的混合对象和圣诞树路径,执行菜单栏中的“对象”→“混合”→“替换混合轴”。

Step 04
接着完成毛绒效果,执行“效果”→“扭曲和变换”→“粗糙化”,弹出粗糙化对话框,设置参数,如下图所示。
Step 05
很多人以为做到上面一步就可以,为了让毛绒效果更加细致逼真,继续执行“效果”→“扭曲和变换”→“收缩和膨胀”,收缩为-40%,效果如下。
???? 放大来看,能清晰看到类似毛绒的精致效果。当然啦,你还可以继续微调刚才“粗糙化”和“收缩和膨胀”的参数,直到满意为止。Step 06
圣诞树部分已经完成,接着就是星星部分,同样是上面的操作,只不过星星的路径不一样而已。(⚠️注意星星路径也要断开,用“剪刀工具(C)”断开即可。)


Step 07
添加一个红色背景,完成简单的海报编排。英文字体:skandinavia Regular,Akzidenz-Grotesk BQ Light Exten。


为了增加质感,添加了颗粒效果
“效果”→“纹理”→“颗粒”
❄️雪花制作❄️
“效果”→“扭曲和变换”→“波浪效果”


写到最后
设计师应该保持一颗勇于尝试、好奇的心,平时工作内卷够严重了,适当享受设计带来的乐趣。好啦,今天的分享就到这里,看完别忘记去实操哦。
本文系作者授权首席营销官发表,转载请联系该作者


最热评论